The Journal · October 2, 2026
How to Brown Butter for Cookies
Brown butter is the single biggest flavor upgrade a cookie can get, and it takes eight minutes and a light-colored pan. Here is how to do it, what goes wrong, and how to use it in a recipe without wrecking the texture.
By Splash
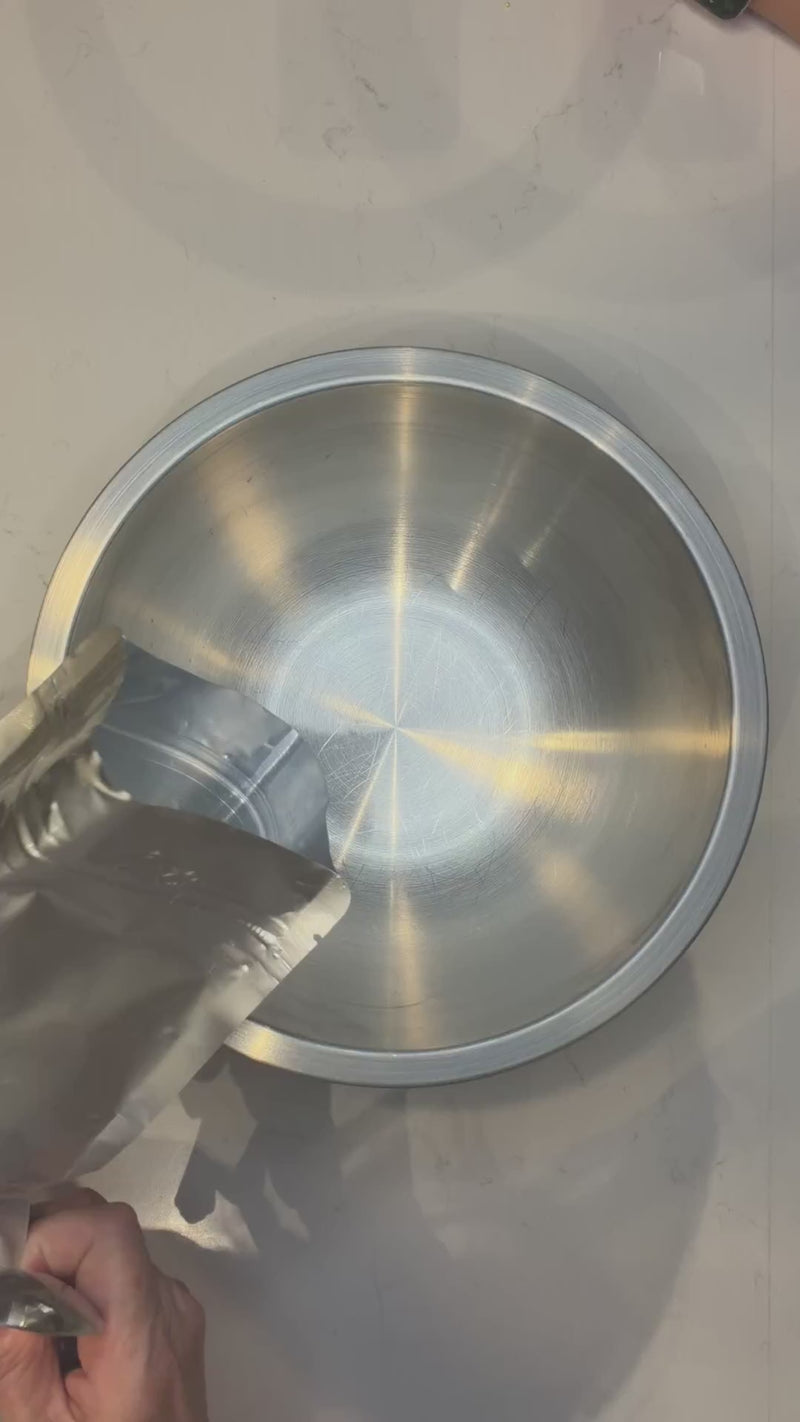
Ask any pastry cook what one change makes a chocolate chip cookie taste expensive and you will get the same answer: brown the butter. It costs nothing, it takes less time than preheating the oven, and it turns a sweet cookie into one that tastes like toffee and toasted nuts. It is also the step most home recipes skip, because it asks you to stand at a stove and pay attention. This is the whole method, including the parts recipes leave out.
What brown butter actually is
A stick of butter is roughly 80 percent fat, 16 to 18 percent water, and a percent or two of milk solids: the proteins and sugars left over from the cream. When you melt butter and keep going, the water boils off first. That is the foaming and hissing stage. Once the water is gone, the pan temperature climbs past the boiling point and the milk solids start to toast. Proteins and sugars react with each other in the heat, the same reaction that browns a steak or the crust on bread, and they produce hundreds of new aroma compounds. That is the nutty, caramel smell. The specks at the bottom of the pan are those toasted solids, and they carry most of the flavor.
So brown butter is not a different ingredient. It is the same butter with its water removed and its milk solids toasted. Both of those facts matter when you bake with it, and we will come back to them.
How to brown butter, step by step
- Use a light-colored pan. Stainless steel or light enamel. In a dark nonstick pan you cannot see the color change, and color is how you know when to stop. A wide pan beats a tall pot because the water leaves faster and you can see the bottom.
- Cut the butter into even pieces so it melts at the same rate. Cold from the fridge is fine.
- Medium heat, not high. Too hot and the solids go from golden to burnt in the time it takes to find a spoon. Medium gives you a window of a minute or two to catch it.
- Let it melt, then foam. The foam is water turning to steam. It will crackle and spit a little. Swirl the pan every twenty seconds or so to keep the solids moving instead of sitting in one hot spot.
- Listen. This is the step nobody writes down. The crackling is the water leaving. When the crackling quiets and the foam thins out, the water is almost gone and browning is about to start. From here, do not look away.
- Watch the bottom and smell the air. Pale specks turn gold, then amber. The smell shifts from plain butter to something like hazelnuts and caramel. When the specks are the color of a hazelnut shell and the butter itself is amber, pull the pan.
- Pour it out immediately, specks and all, into a heatproof bowl. The pan holds enough heat to keep cooking the solids for another thirty seconds, and that is the difference between brown and burnt. Scrape the bottom; the specks are the point.
A standard stick takes about six to eight minutes on medium. Two sticks take a little longer, not twice as long, because the surface area of the pan is doing the work.
The mistakes that ruin it
- Stopping too early. Golden butter with a few tan flecks is melted butter with ambitions. Hazelnut brown is the goal. If it only smells like butter, keep going.
- Walking away. The browning stage is short. Set up your bowl before you turn on the burner, and stay.
- High heat. The outside solids burn before the inside ones toast. Black specks taste bitter and there is no rescuing them.
- Leaving the specks behind. Straining brown butter throws away the flavor you just made. Only strain if a recipe tells you to for a specific reason.
- Using it hot. Hot brown butter melts the sugar it touches and cooks any egg it meets. Let it cool until it is warm, or chill it back to a soft solid if the recipe creams butter and sugar.
Using brown butter in a cookie recipe
Here is the part that catches people. You cannot swap brown butter one-for-one into a recipe written for softened butter and expect the same cookie, because of the two facts from the top of this post.
You cooked off the water. A stick of butter loses roughly two tablespoons of water on the way to brown. That water was doing work in the dough: dissolving sugar, hydrating flour, turning to steam in the oven for a little lift. Without it the dough is drier and the cookies come out thinner and crisper. Serious recipes add a tablespoon or two of water, milk or an extra egg yolk back in to make up the difference.
The butter is liquid. Creaming softened butter with sugar beats air into the fat, and that air becomes part of the cookie's rise and texture. Melted or browned butter cannot hold air. Cookies made with it spread more and come out denser and chewier, which many people prefer, but it is a different cookie. The usual fix is to chill the dough for at least thirty minutes so the fat firms up again before the oven, or to chill the brown butter itself until it is spreadable and then cream it.
If you want to go deeper on spread, we wrote a whole post on it: why cookies spread and how to control it.
When you do not have the afternoon
We will be honest: this post exists because browning butter is wonderful and also because it is exactly the kind of step that keeps people from baking on a Tuesday night. A pan to watch, a pan to wash, a dough that then needs an hour in the fridge.
That is the gap The Everything is built for. Every ingredient comes pre-measured in two pouches, one dry and one wet, so there is no stove, no cooling and no chilling. You add water, mix for two minutes with your hands, scoop six balls and bake. The bake page has the timed steps and the videos from our kitchen. If you have twenty-five minutes, you have warm cookies.
And if you have a free afternoon and a light-colored pan, brown a stick the long way at least once. It is one of the best things you can learn to do in a kitchen.
More from the journal
October 2, 2026
Why Do My Cookies Spread? The Science and the Fixes
Flat, greasy, one-giant-cookie-on-the-sheet cookies come from a short list of causes: warm fat, too little flour, the wrong sugar balance, a cool oven or a hot pan. Here is what is happening in the dough, and how to fix each one.
October 2, 2026
The Everything Cookie: What Each of the Seven Mix-Ins Is Doing
Two chocolates, toffee, caramel, oats, dried cherries and pretzels, in one buttery dough. That is not a kitchen-sink cookie. Each one is there for a reason, and here is what every piece does to the bite.